You’re beginning your online custom apparel business journey and need help designing? We’ve got you.
Step 1: Sign up with Slaite
The first step is to create an account with the Slaite app, your print-on-demand drop-shipping provider, to begin your design journey. It’s free and easy to use.
Step 2: Browse our catalogue
Next, you’ll want to review the product offerings available on the Slaite catalogue.
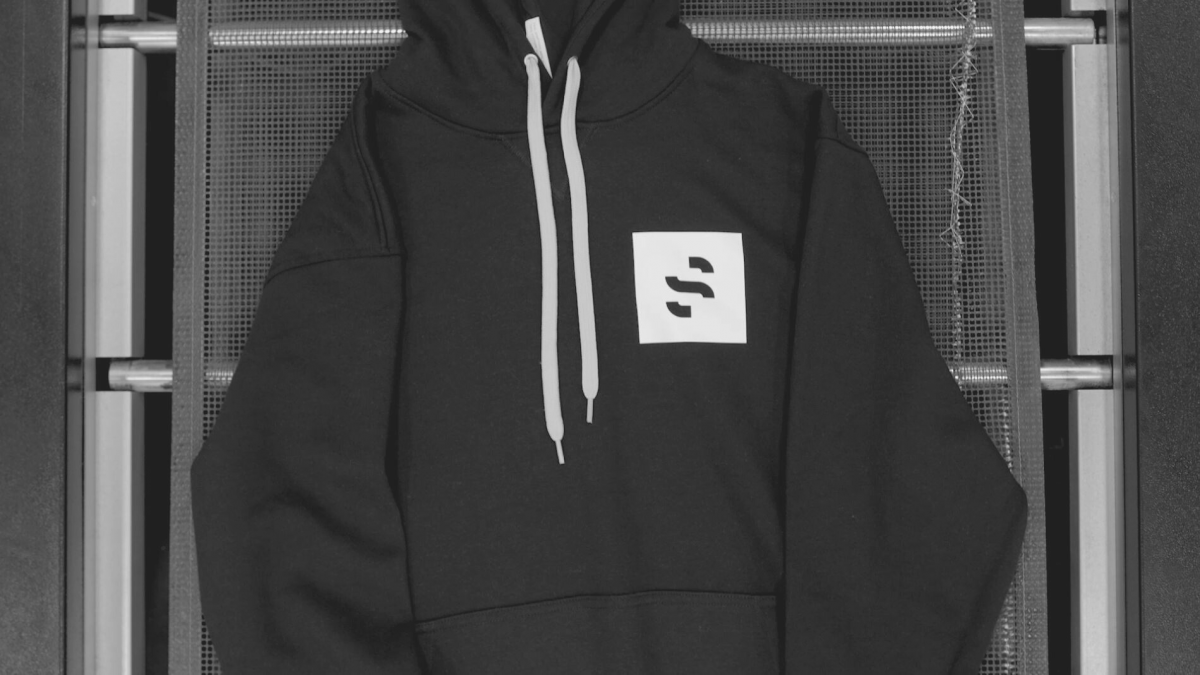
We offer
tank tops, t-shirts, long sleeve tees, sweatshirts, hoodies, zip up sweaters,
jackets, hats and masks. We’re always looking to bring on new products
offerings for you to design.
Once you’ve decided what products you want to offer on your online store, you can begin designing them in the Slaite design studio.
Step 3: Check your artwork quality
To print or
embroider a design, you’ll want to ensure your file meets the correct criteria.
Our FAQ is full of information about design specs and we’ve linked to the
appropriate answer below.
Minimum 300dpi (linked) If your design is not high resolution, a notification will alert you and recommend using a higher resolution image design
You’ll want to ensure the design and the garment are not the same, or too similar, in color. For example, printing an all-black logo on a black or dark grey shirt may not result in a striking design. If you have an all-black logo, we recommend printing it on a lighter color garment. Alternatively, you can change the logo or design to a lighter color to print on a dark garment.
Step 4: Design your product
Creating
with Slaite is easy. You bring your vision to the garment and it is our mission
to fulfill and deliver with quality and speed.
If you’re new to designing garments, we’ve provided some helpful tips and quick videos covering the tips. Good luck!
Helpful hacks:
More of a visual learner? We cover the helpful hacks in this video. Check it out!
In
the Slaite Design Studio, you’ll notice a box with a green dotted outline.
These guidelines show where you can place your design. If you place your design
outside the green dotted line, it will not be printed or embroidered.
Stretching
your design in the studio will lower your dpi and ultimately lower your
printing quality. If you want to make your logo or design larger, we suggest
increasing the size in your editing software to accommodate the larger size you
want.
If
your design is poor in quality or at-risk for not being printed because it is
outside the green dotted guide, our helpful alerts will notify you and you can
adjust the design location or resolution.
The
rulers at the top and bottom of the window provide an estimate for the size of
your design.
You
can create your own design in the studio by adding your own text and shapes or altering
your image.
Cloning
your logo or design can create a unique pattern or collage. You can reorganize
the objects and truly customize the design on the garment.
The
Slaite design studio lets you customize what tools and guides you use during
garment design.
Everything you need to know about embroidery designs
If you’ve read our Slaite blog post outlining the six best tips for custom embroidery but you still have questions or want to know more about design best practices.
We’ve got more advanced embroidery design tips. Keep reading!
Your Design
Before uploading your artwork, consider whether your design is optimized for this decoration type.
Clean lines and simple shapes are critical for embroidery. In our previous blog post, we discussed styles to avoid, the color blending limitations, location consideration, the best material to embroider and hat designs.
In this article, we share visuals to show best practices for embroidery design with detailed explanations. Each logo in this article does not follow embroidery design best practices. We’ll tell you why and how to avoid.
Tulip Logo
Original Digital Image of Logo*
Digitized Logo for Embroidery*
What’s wrong?: Too many fine lines and details in this design.
What will happen?: Thread has a physical weight. This makes it difficult to re-create delicate designs, particularly for small areas. During digitization, the lines and details would likely be simplified or removed. This results in a discrepancy between the digital display logo and the rendered design.
Fun fact: in this digitized example, the fine lines are created using a run stitch. This type of stitch is created when a needle is passed in and out of the fabric in regular intervals. If this design were applied to a small location (for example, a hat), then the fine lines and details would be simplified further to ensure there is enough physical space for the thread. Consider the real-world dimensions of your artwork by reviewing the design guide box dimensions in the Slaite design studio and comparing your artwork within the design box. We show you how to do this within the Slaite design studio in the video below!
How to fix?:Simplify fine details to make the logo crisp with clean lines and consider removing the text for smaller design locations. Alternatively, you can use Direct to Film (DTF) printing to achieve photorealism.
Lion Logo
Original Digital Image of Logo*
Digitized Logo for Embroidery*
What’s wrong?: Too many fine lines, details, outlines and small text.
What will happen?: Like the Tulip Logo, the lines and details would be simplified or removed during digitization. If this logo were applied to a small design area (for example, the side of a hat), the small text and fine lines above the text would need to be removed.
Fun fact: in the digitized image, the “Lion Logo” text is created using a column stitch. A column stitch is created by using a zigzag stitching method and creates a column or cylindrical element. If this design was placed on a small location, the stitch type may be changed to run stitch and may compromise the design. Larger design areas can accommodate more legible text whereas it’s challenging to include text in smaller design areas.
How to fix?: Simplify the fine lines and details to make the logo crisp and remove the small text if designing a smaller location.
Logo Life
Original Digital Image of Logo*
Digitized Logo for Embroidery*
What’s wrong?: Shadows and color gradients are not recommended for embroidery design.
What will happen?: DTF printing can beautifully execute shadows and gradients because the technology uses high-resolution to replicate the digital image experience. However, in embroidery, the physical dimension of thread does not allow a smooth transition between the dark and light colors. In the Logo Life artwork, the shadow opacity is less than the “Logo Life” text. Since thread opacity is consistent throughout all colors, the shadow would make the artwork appear busy or potentially illegible.
How to fix?: Remove the shadows or color gradients from your design for embroidered products and use a logo with crisp, clean lines.
What about design size?
In the above examples, we’ve mentioned small design locations. What does that mean for your design?
Each product’s design location (the green dotted box) shows what area is eligible for decoration. If you have an intricate logo and there is not enough space to accurately replicate the design, your artwork will be compromised. But, if your design is simple then you could make it as small as 1 inch.
Rule of thumb: the larger the design, the more details can be accommodated but the smaller the design, the less details can be accommodated.
How to use the Slaite design studio
In the Slaite design studio, you’ll see the guide box (green dotted line) for embroidery areas. This green box represents the real-life dimensions of the embroidery placement guides our machines use to plot your design pattern. At the top and left of the design studio, you’ll see rulers in inches to help determine the size of your rendered artwork.
In this video example, we show you the guide box demonstrates the design location for the Yupoong Flat Bill Snapback hat is approximately 4.5” W x 2” H. When the Slaite logo is added, the logo appears to be 1.5” W x 0.5” H. This guide is a good indication of the size and location of your design but we always recommend ordering a sample to visualize exactly how your product will look.
The journey from digital mock-up to embroidered design
You create a collection with your logo embroidered on a garment. You’ve seen the digital mock-up of your design in the Slaite design studio but what happens behind the scenes between digital mock-up to physical product? Here are the steps:
Product is designed in a collection.
A sample order (or customer order if the product is published in Shopify) is placed.
The artwork is converted into a digitized image file and a barcode is assigned to the file. This barcode includes all design information including the size and colors of the design as plottable data. This data is read as a pattern by our embroidery machines to customize your products.
Our operations team carefully prepares the garment for the embroidery process. A team member selects the appropriate embroidery placement guide before bringing the readied garment to the embroidery machine for decoration.
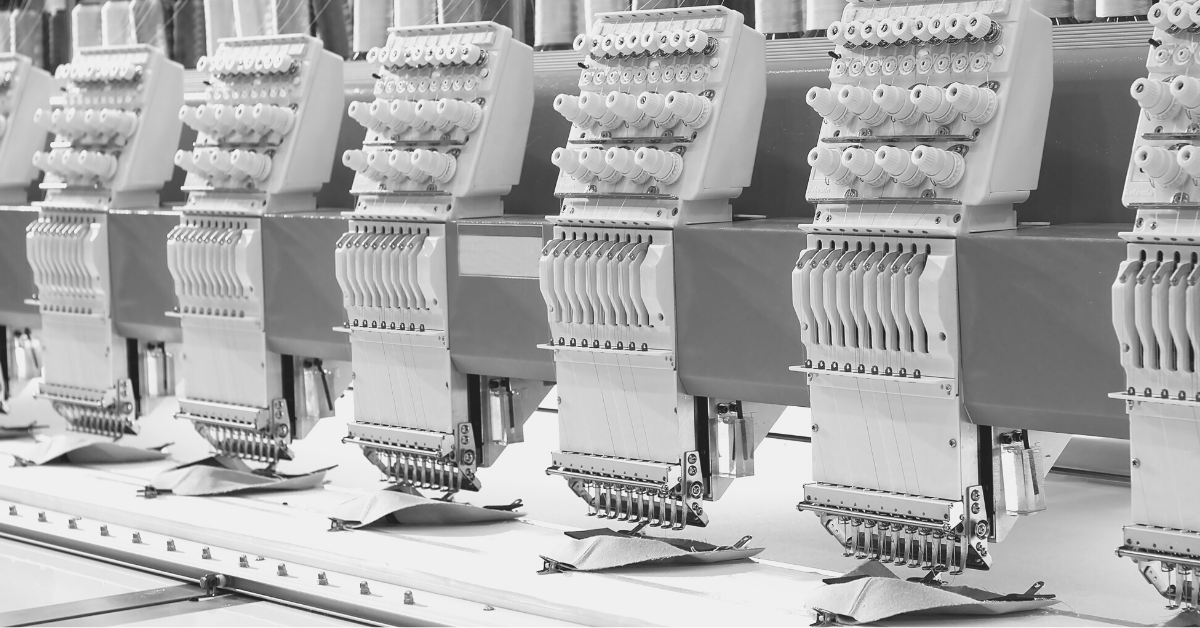
When the product is ready for decoration, the barcode is scanned by our embroidery machines to begin a fully automated sewing process and applies the design to the garment. Your product is fulfilled and ready to be shipped to your customers!
The digitized design is saved in the Slaite database for all future orders.
If you have any other embroidery design questions, please reach out to help@slaitepod.com. We’re listening!
*Disclaimer: all logos used in this article were created by Slaite for educational purposes only.
You’ve begun your custom apparel journey and you’re ready to sell to your customers. The last thing you want to worry about is technical difficulties. Whether it’s issues with Shopify settings or order issues, you want your customers’ journey to be seamless. We’ve got some helpful tips for you to keep the momentum without the hiccups.
Vendor Settings
Keeping Slaite as the vendor for Slaite products ensures when an order is placed, Slaite is notified and can begin fulfilling the order. Slaite is the default vendor for our products but if you are experiencing issues, check the vendor settings. Here’s a quick video to show you how to ensure your Slaite products are set to Slaite as the vendor.
Instructions:
Login to Shopify and select ‘Products’
Remain in the ‘All Products’ section
Select your Slaite products
Select ‘Edit Products’
Select ‘Add Fields’
Under the ‘General’ section, select ‘Vendor’
The ‘Vendor’ field will populate
Ensure the Vendor is ‘Slaite’ and do not change the vendor *Note: your customers will not see Slaite as the vendor
Order Processing Settings
Selling out of stock products is a headache. Avoid these issues by checking the default settings in your inventory page. Follow along with this video to ensure your products are not being sold when they are out of stock.
Instructions:
Login to Shopify and select ‘Products’
Select ‘Inventory’ from the Products section
Under the ‘When Sold Out’ column, it should read
‘Stop Selling’
If it reads ‘Continue Selling’, select your
Slaite products and select ‘More Actions’
Select ‘Stop Selling When Out of Stock’
If you cannot see your products, select the location
dropdown at the top right. ‘Slaite Fulfillment’ will be in one of the dropdown
options
Need help with setting up shipping in Shopify? We’ve got you.
You’ve signed up to Shopify, you’ve designed your Slaite products and you’re ready to sell – congratulations!
Now you want to set up your shipping prices for your customers. We’ve got you.
Here are instructions to set up your Shopify shipping profiles and rates:
Thanks for bringing this to our attention. Shopify made a small modification to the shipping profile setup without sending out communications. We apologize for this inconvenience, and we are currently updating our blog post to reflect the change.
We recommend deleting the current shipping profile you have for Slaite, if you haven’t already, and follow the below instructions:
Login to Shopify and select ‘Settings’
Select ‘Shipping and Delivery’
Select ‘Create New Profile’
Input ‘Slaite’ into the name field
Select ‘Add Products’
Select all your customized Slaite products synced to Shopify *Note: make sure the products selected are only Slaite products
Under ‘Shipping From’, select ‘Manage’ the profile ‘Slaite Fulfillment’. If ‘Slaite Fulfillment’ isn’t visible, select ‘Show Details’ and select ‘Manage’.
Under ‘Create New Rates’, select ‘New rates for Slaite fulfillment’
Scroll down after selecting ‘New rates for Slaite fulfillment’ and select ‘Create shipping zone’ under ‘Shipping from Slaite Fulfillment’
Name the zone, i.e.: North America
Select countries for assigned zone, i.e. Canada and the United States
Select ‘Add Rate’
Ensure ‘Set up your own rates’ is selected
Input ‘Standard’ into rate name field
Input assigned shipping rate, example: $4.99USD or $6.24 CAD for US & Canadian shipping.
Once the shipping profile has assigned zones and rates, you can test this by viewing your store and performing a test order
If you successfully created your shipping profile, your assigned shipping rate should match the shipping cost in the checkout page.
If you’re looking to create advanced shipping profiles or set up conditions in your shipping profiles, check out the Shopify tutorials linked below.
Shopify Resources
Shopify Shipping Rates*This article discusses setting up conditions in shipping profiles based on order price or order weight
Your order is our responsibility from start to finish. We print-on-demand and drop-ship for your custom brand – all you need to focus on is your profit.